Create your account and set your password.
How to set up the Kotai BJJ app
This page follows the real app flow in order. Start by creating your account, then sign your waiver, choose your membership, and finish with a quick look around the app once everything is active.
Sign the waiver from your account screen.
Open memberships, choose a plan, and pay securely.
Use the schedule, pass, and account areas once you are live.
Step 1
Create your account
If you are new, open the app and tap Register from the login screen. The app then takes you through who the account is for, your personal details, and your password setup.
If you already have an account, log in and skip straight to the waiver and membership steps below.
Choose I’m adding a child or minor first. The adult account is created before the young member is added later.
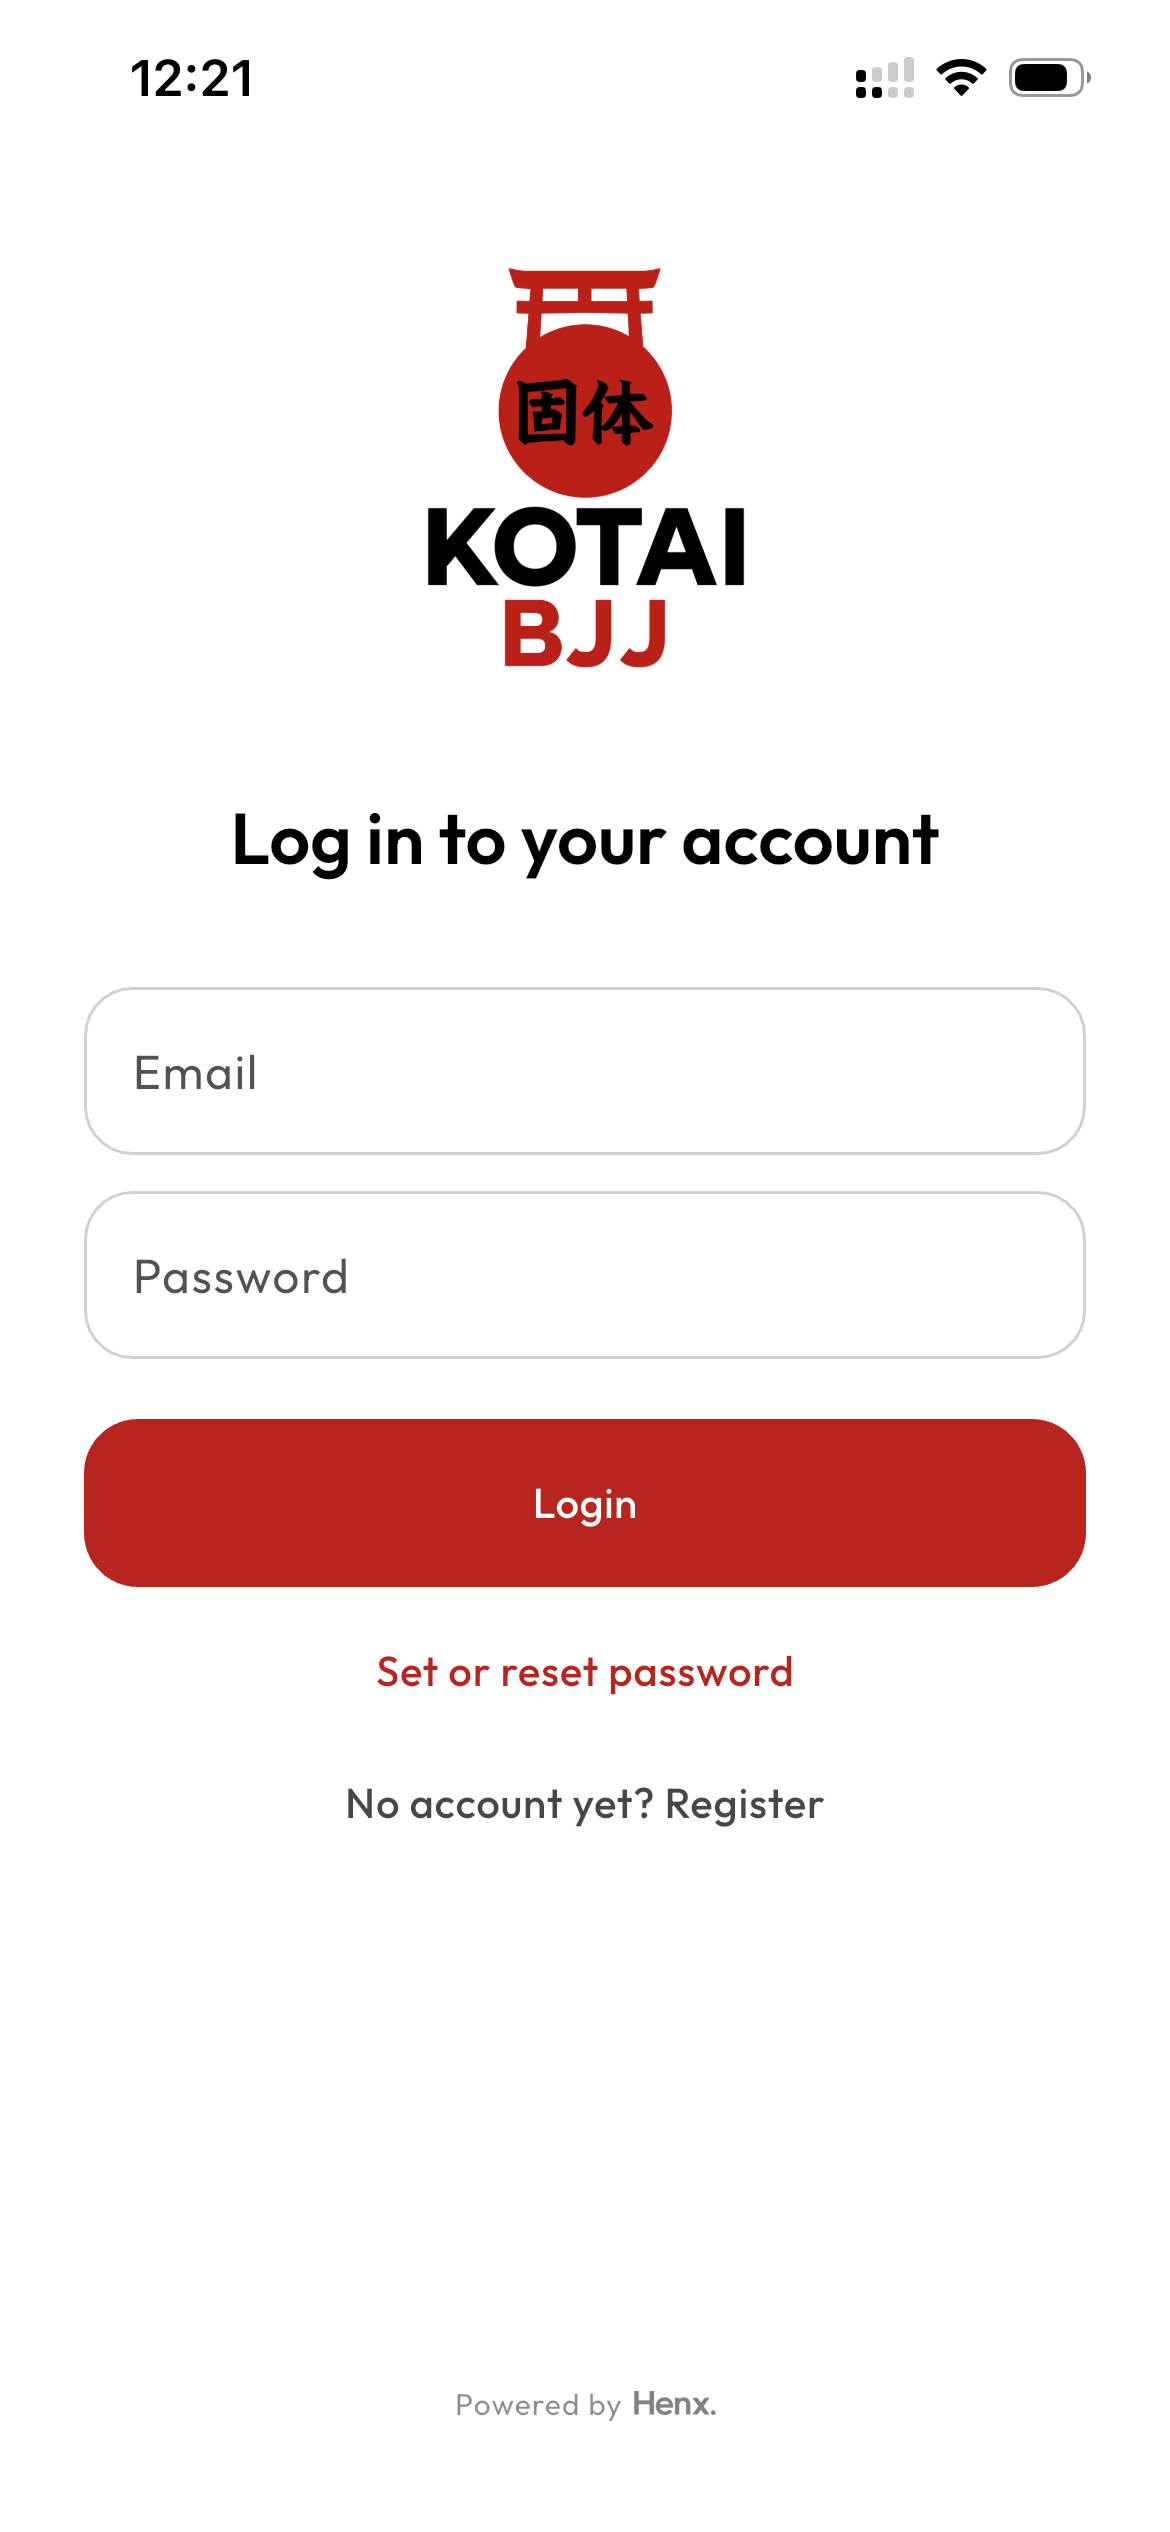
Open the app and register
Use the login screen if you already have an account, or tap Register to create a new one.
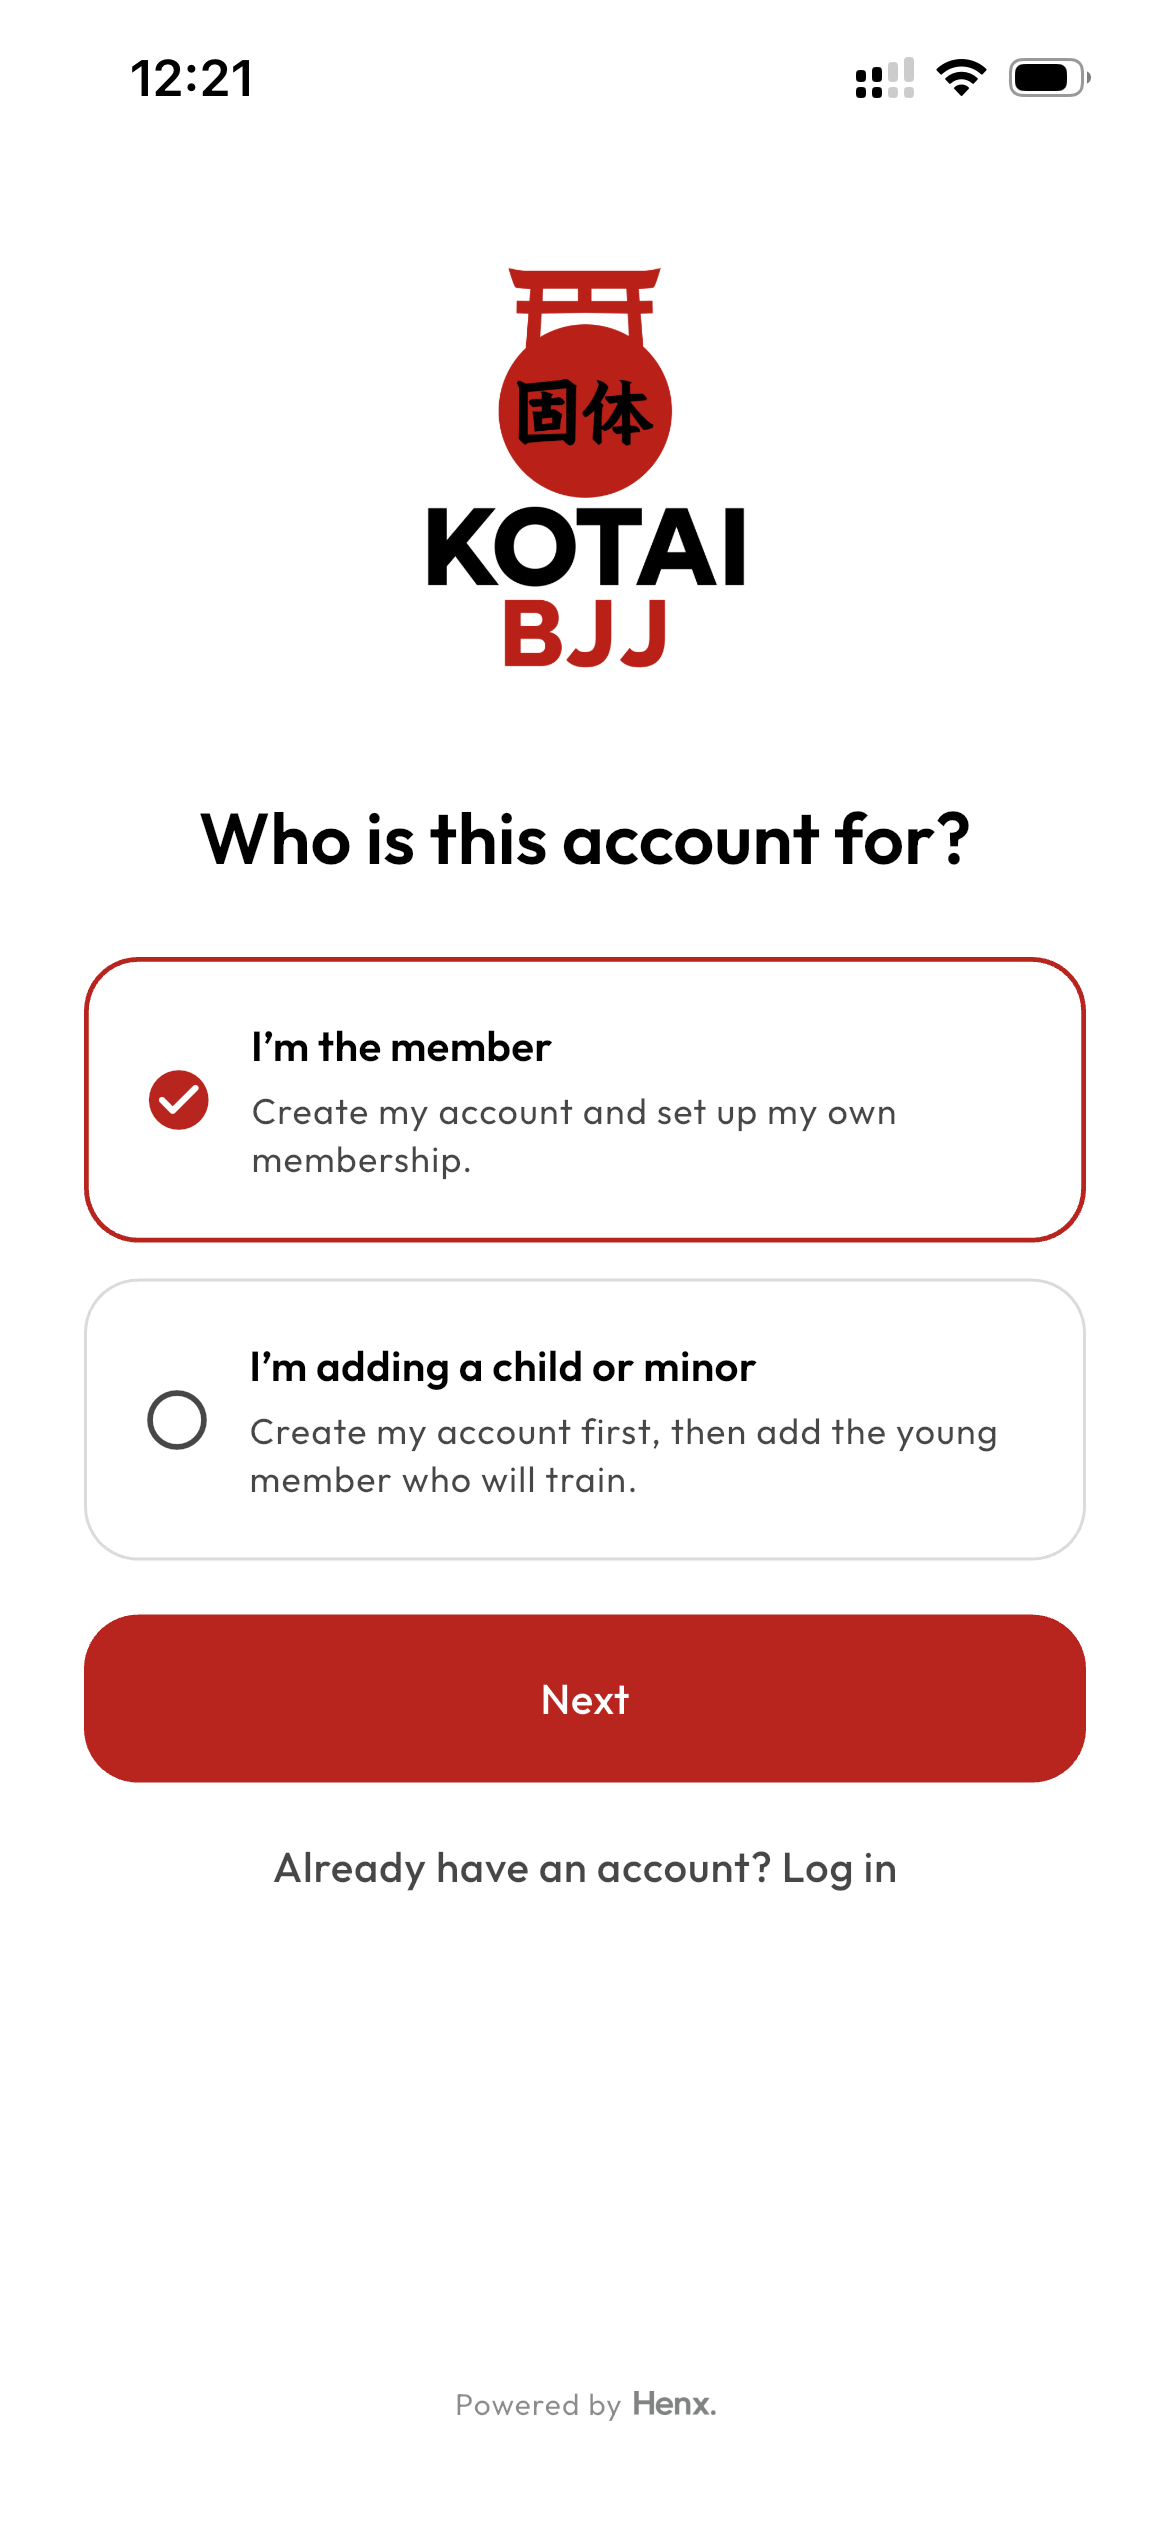
Pick yourself or a child setup
Select the member route that matches you so the app knows whether you are creating your own membership or starting as a parent or guardian.
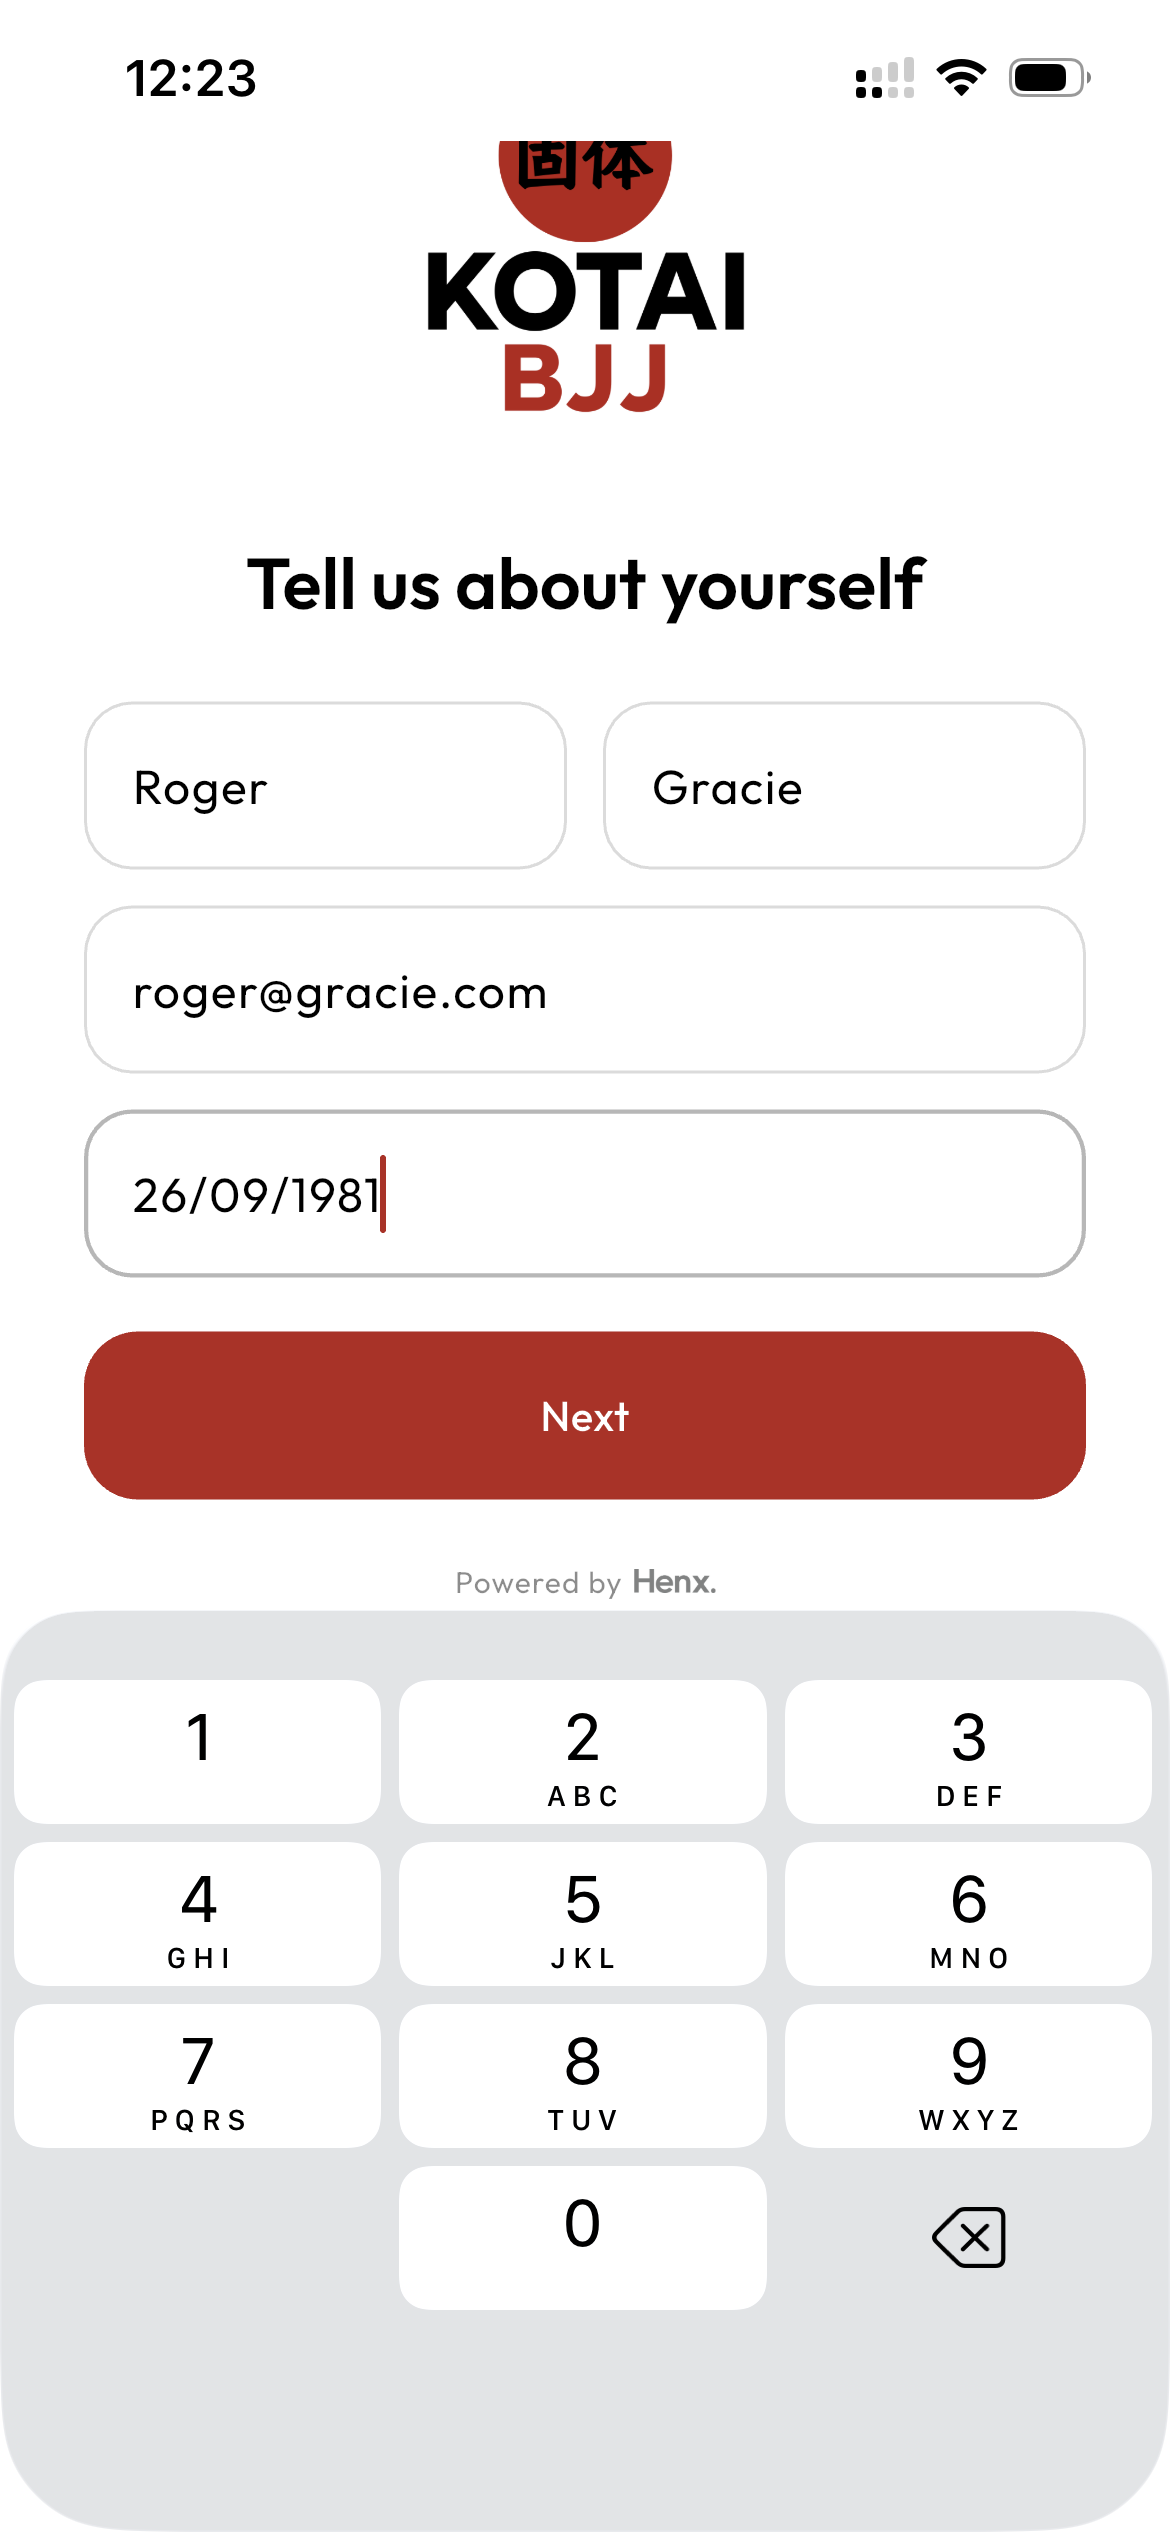
Enter name, email, and date of birth
Fill in the basics carefully so your membership, waiver, and future class access are set up against the right details.
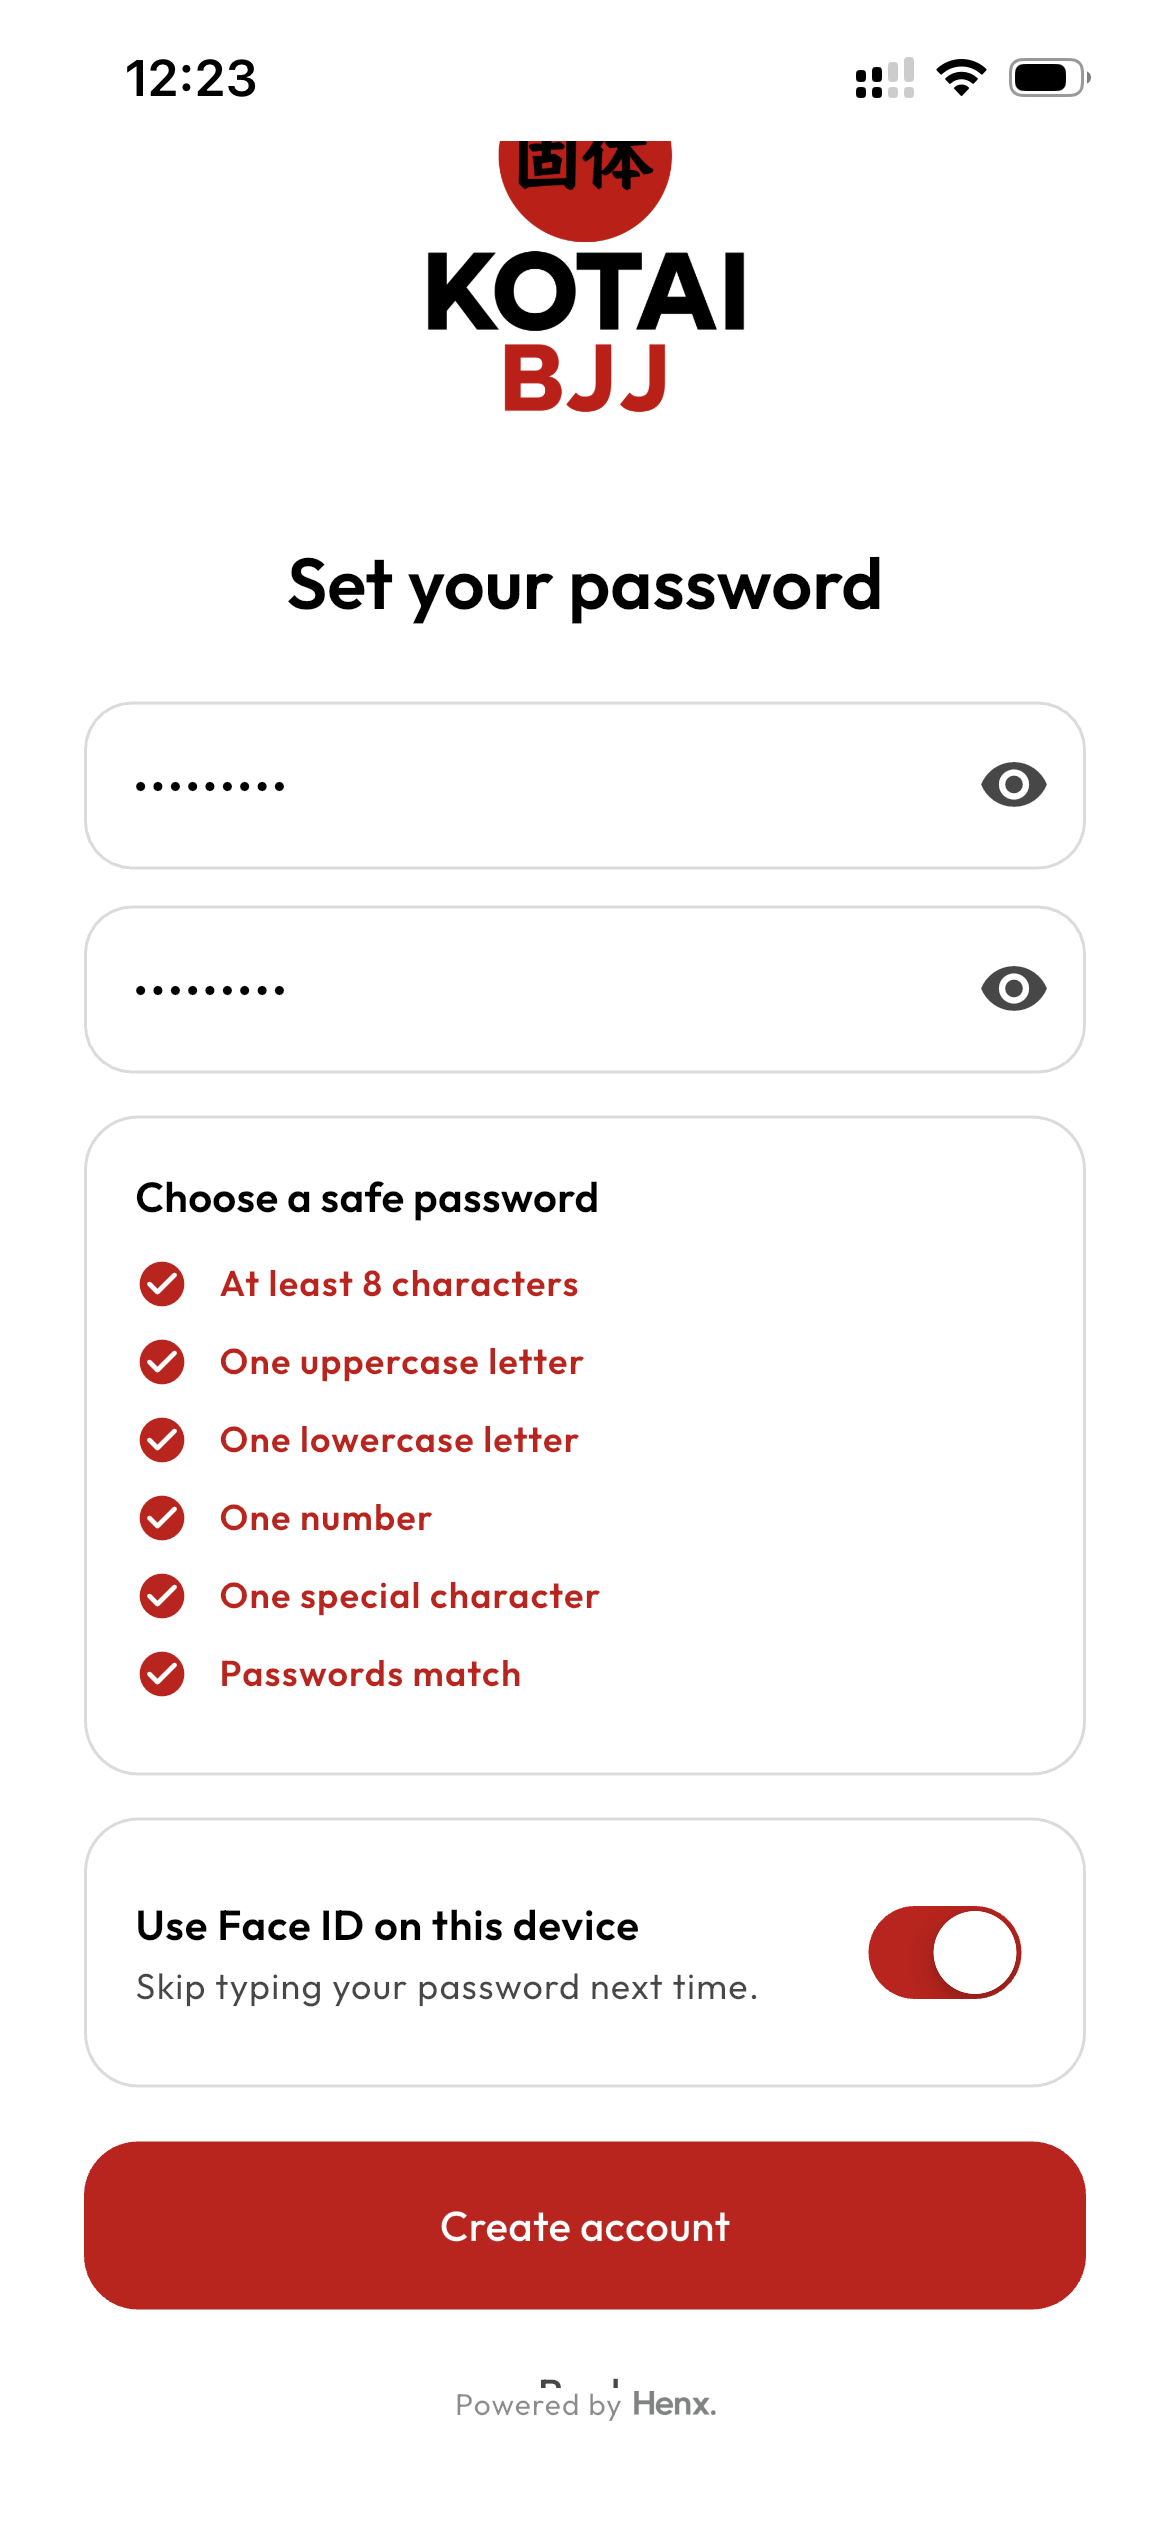
Create your password
Choose a password that meets the checklist, then create the account to move into your Kotai BJJ member area.
Account
Your account screen is where the next two jobs happen
Once your account is created, you will land in the Account area. This is where you sign your waiver first, and then tap Edit to choose and purchase your membership.
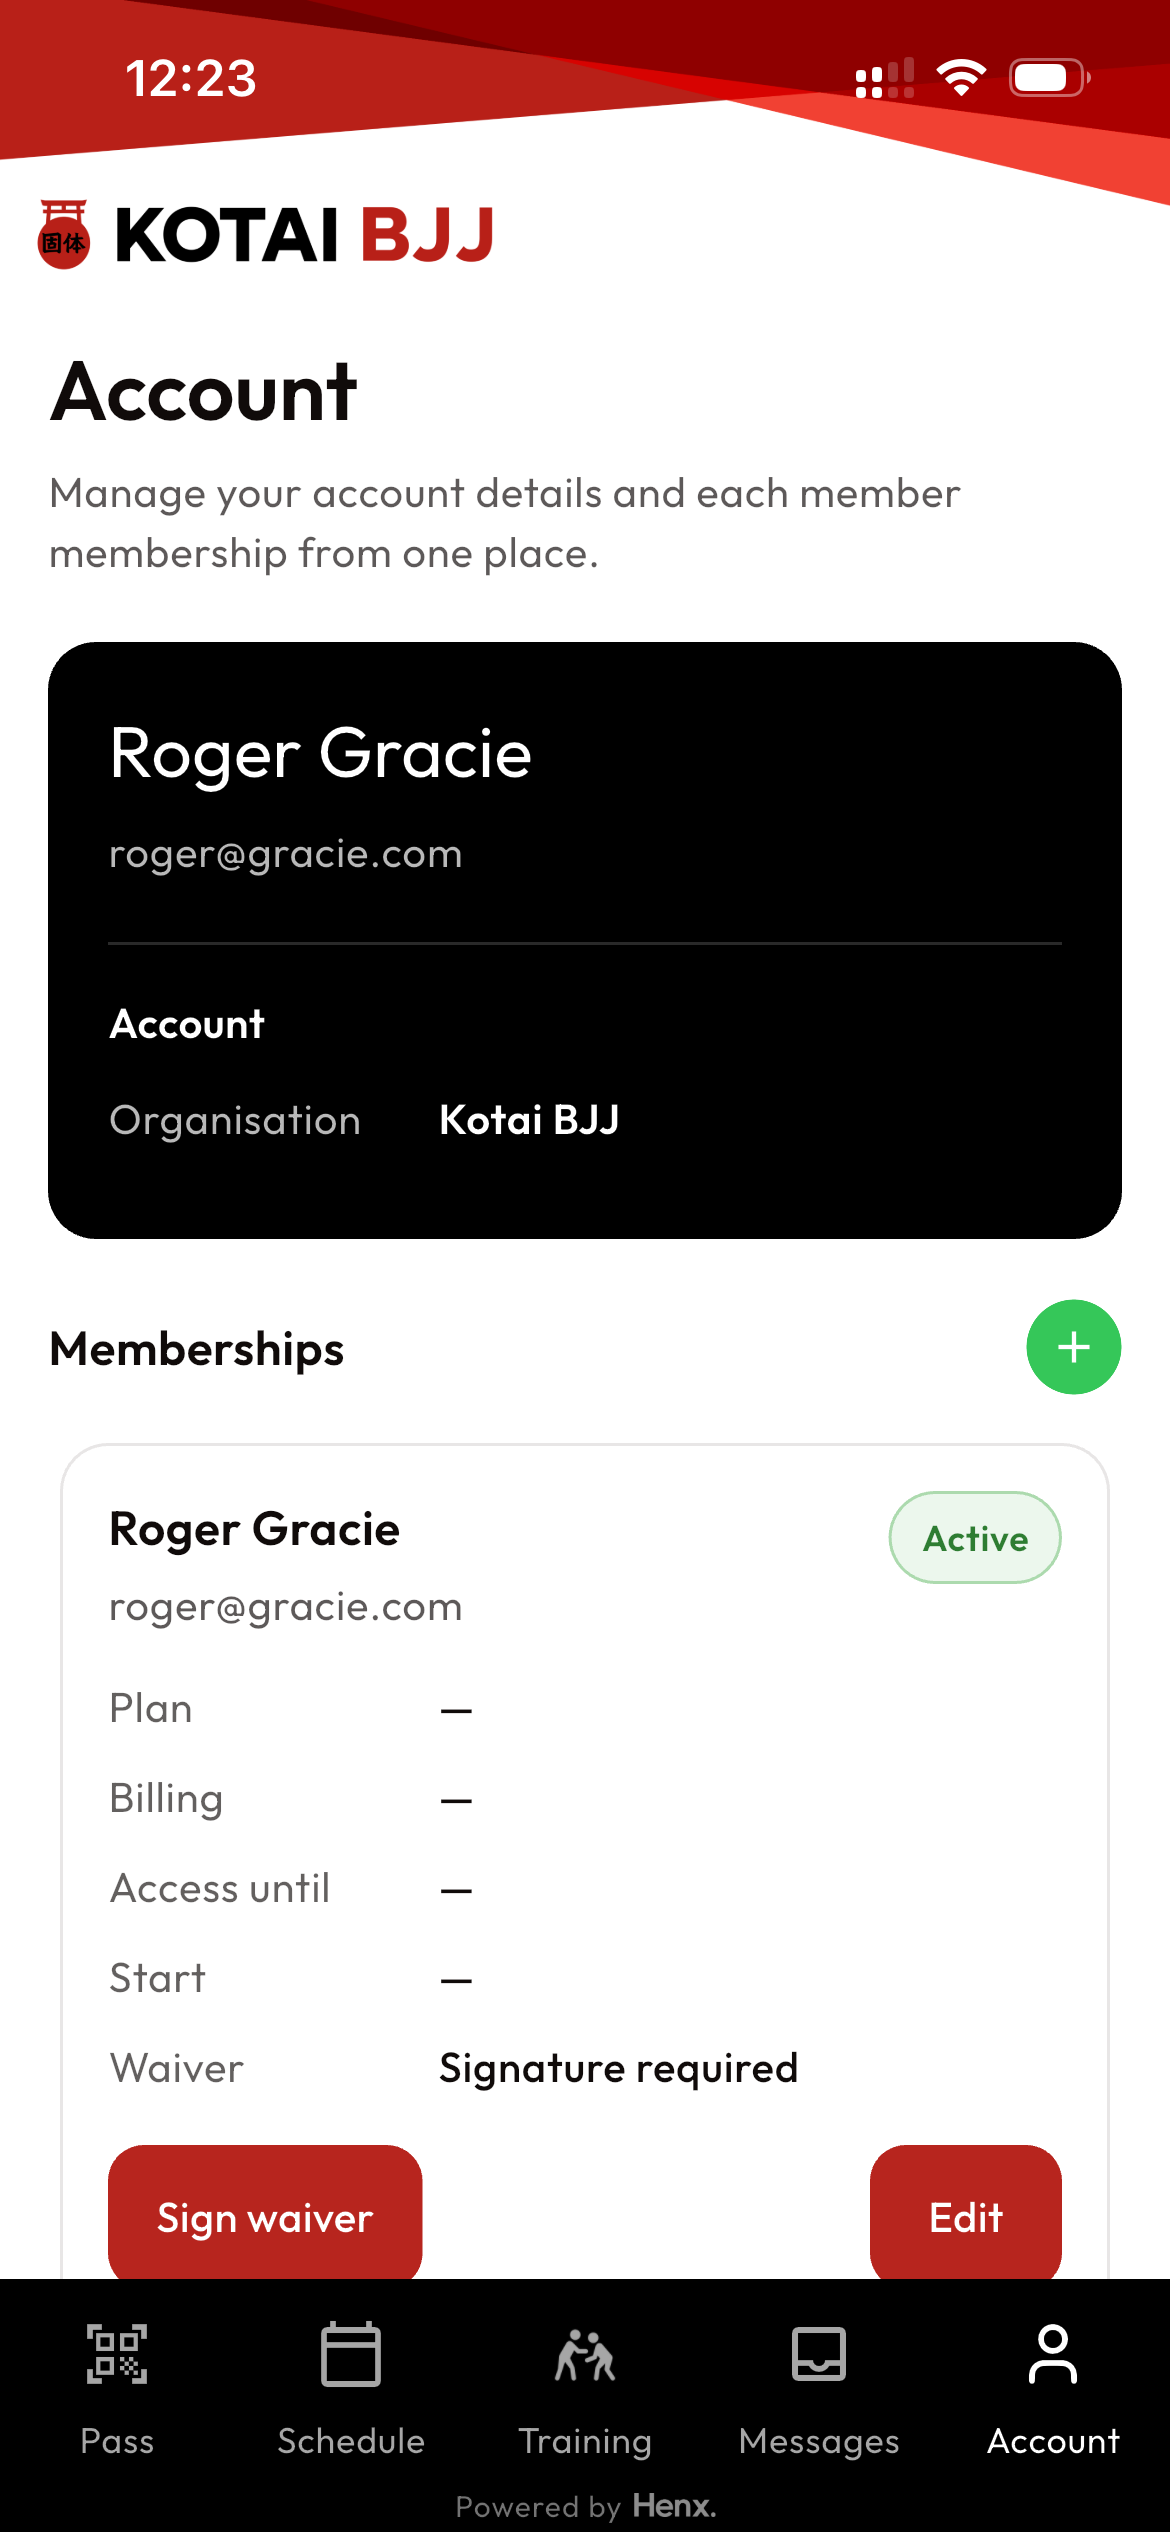
Everything is managed from here
Your account details sit at the top, and your memberships area below shows what still needs to be completed.
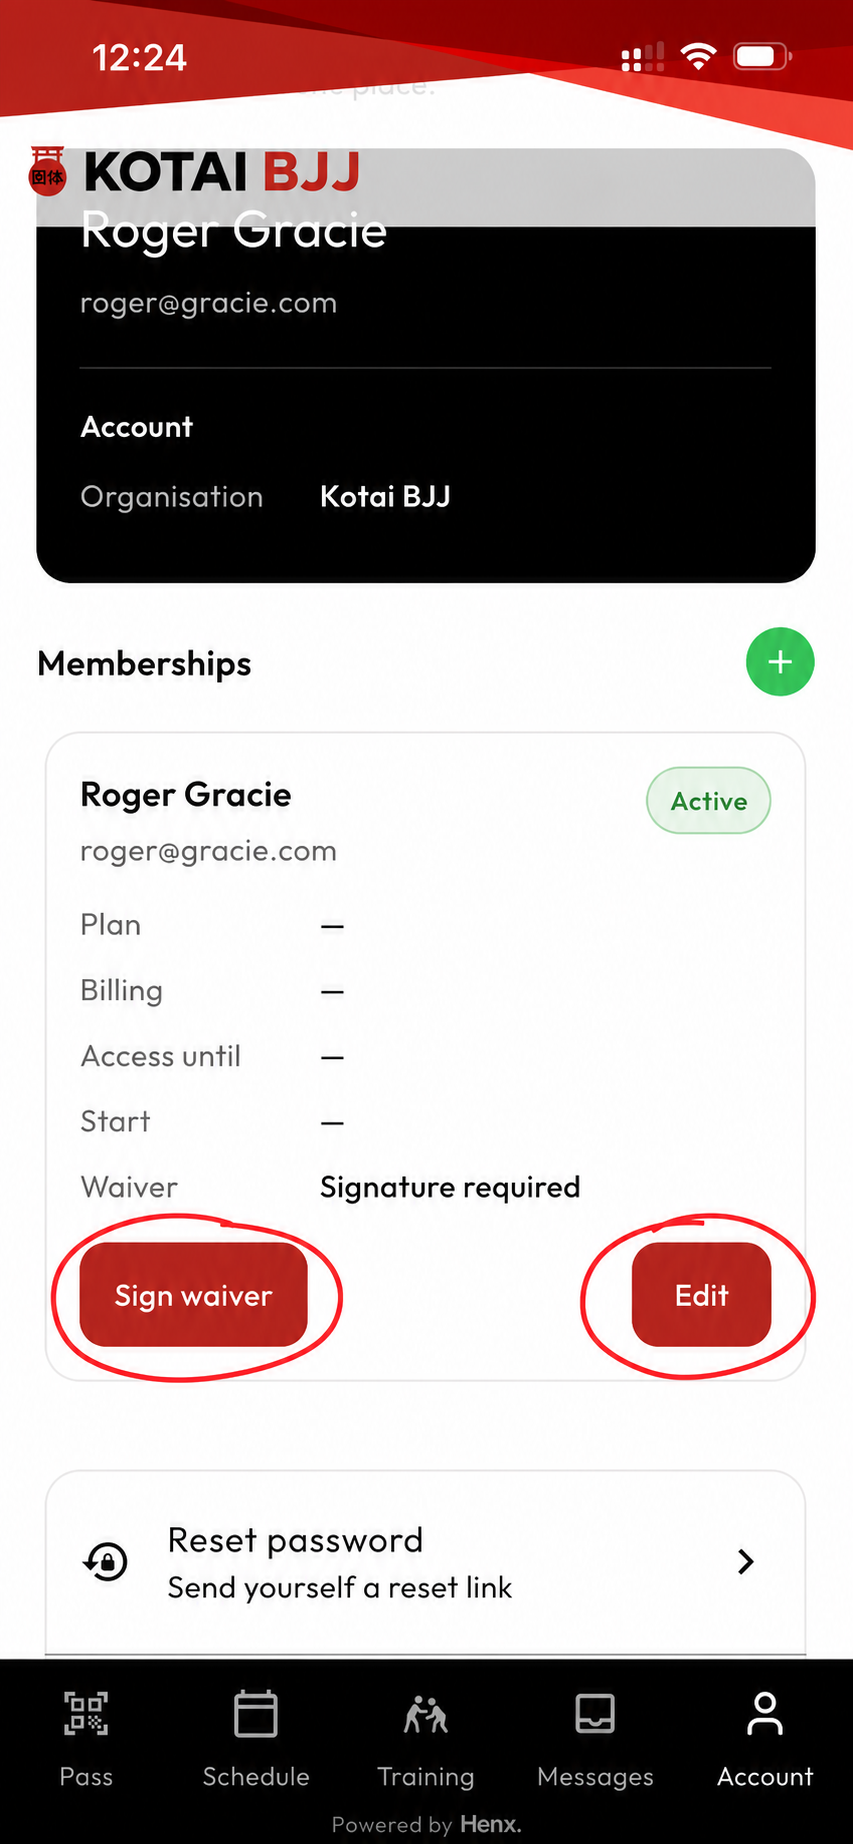
Sign waiver, then tap edit
Sign waiver takes you into the agreement, and Edit opens the membership and billing options for that member.
Step 2
Sign your waiver
Tap Sign waiver on the membership card, read through the agreement, and add your signature in the box. Once you submit it, the app records the signature and date automatically.
- Open the Account tab and find your membership card.
- Tap Sign waiver.
- Read the agreement, sign in the signature panel, and confirm.
- Return to the account screen and check that the waiver now shows as signed.
Watch the full signing flow
This clip shows the waiver screen, the signature box, and the signed confirmation once it is complete.
Step 3
Choose and pay for your membership
After the waiver is done, tap Edit on the same membership card. That opens the billing area where you can browse available plans and complete payment securely.
- Tap Edit from the membership card on your account screen.
- Review the available membership options and choose the plan that suits you.
- Tap the purchase button for that plan.
- Enter payment details in the secure checkout and complete the purchase.
See the edit and checkout flow
This recording shows the membership list, the plan selection view, and the secure payment step.
Step 4
Take a quick look around once you are live
Once your membership is active, the app becomes your home for class access and account management. You can move around using the bottom navigation and return to Account any time to check the plan details.
- Pass holds your member access pass.
- Schedule shows the current timetable and lets you book into sessions.
- Account shows your active membership details and waiver status.
- If you are setting things up for someone else, use the green + in memberships to add another member later.
See what changes after purchase
This final clip shows the live schedule, the active membership state, and where extra member management sits inside the app.
Need the app first?
Download it and follow the steps above
If anything feels unclear, start with the app download and work through the guide in order. If you still get stuck, drop us a message and we will help.